|
|
Getting Started > Hardware Installation

Hardware Installation
- Open the CMS package.
- Connect an Ethernet cable to the LAN port. By default, CMS will get an IP address from the DHCP server.
- Connect a DVI or VGA cable to a display. If you want to use a VGA cable for CMS-40, please find the DVI-I to VGA adapter in the package.
- Connect the power cord and press the power button. For CMS-40, the system will be turned on automatically when you connect the power cord.
- After the system boots up, enter "Network Management" in the text console to check the server's IP address. CMS will get an IP address from the DHCP server automatically. For a non- DHCP network, you can use a keyboard to enter a static IP in the text console. Please reboot the server; then you can start to manage the server remotely.
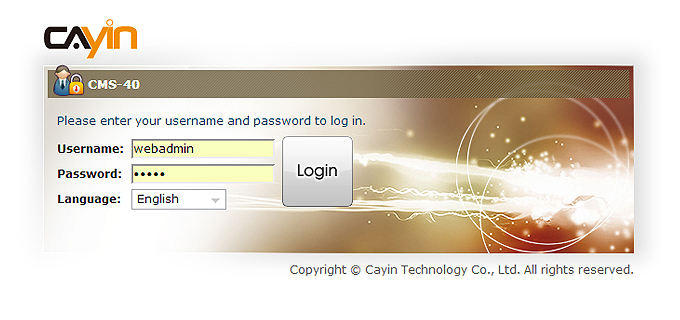
- Open "Web Manager" from your PC's browser – type http://server_ip_address in the address bar of the browser. The default administrator's account is "administrator", and the password is "admin".
- You can start to manage this CMS server after you login Web Manager. Except for the initial installation of CMS, we suggest you to manage or change settings of CMS from remote PC instead of doing it directly from the server.
|
