meetingPost+ User Manual
3. Meeting
3.4 Settings
3.4.1 Set Calendar Source
meetingPost+ embeds a calendar where you can arrange events on the app directly. You can check the number of selected and total meeting rooms created by the built-in calendar.
- Click
 or
or  .
.
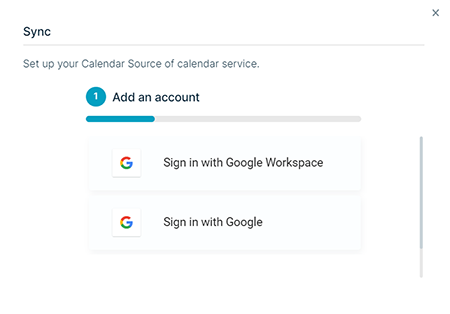
- Click Sign in with Google Workspace or Sign in with Google.
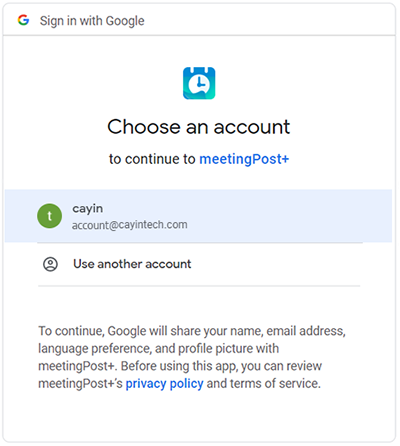
- Select the account which can log in Google Workspace Calendar or Google Calendar.
- Follow the on-screen instructions to finish setup.
- The meeting room information will be retrieved from Google Workspace Calendar or Google Calendar after the calendar source is set.
Note!
For recurring events of Google Workspace Calendar and Google Calendar, meetingPost+ only supports daily, weekly, monthly (on the nth day), and annually events.
- Click
 .
.
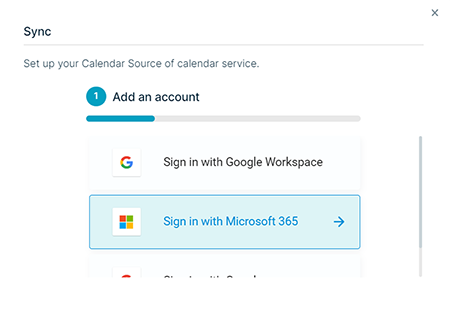
- Click Sign in with Microsoft 365.
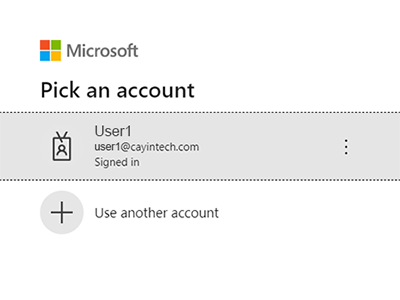
- Select the account which can log in Microsoft 365.
- Click Accept button to grant app permissions.
- Select the meeting rooms you want to sync data with meetingPost+ and click the Next button.
- The meeting room information will be retrieved from Microsoft 365 after the calendar source is set.
Note!
For recurring events of Microsoft 365, meetingPost+ only supports daily, weekly, monthly (on the nth day), and annually events.
In some circumstances, the event name will be replaced with the event creator when you book a meeting via Microsoft 365. It is because True is the default setting of two Microsoft 365 settings: AddOrganizerToSubject and DeleteSubject. The solution is as follows:
- Open PowerShell as administrator.
- Type the following commands and press enter. Here we take room1@company.com as the meeting resource.
- Import the module to the current session.
Import-Module ExchangeOnlineManagement
- Connect with the module.
Connect-ExchangeOnline
- Modify settings so that the event name will not be replaced with the organizer.
Set-CalendarProcessing -Identity room1@company.com -DeleteSubject $False -AddOrganizerToSubject $False
- Import the module to the current session.
3.4.2 Edit/Delete Calendar Source
- Click
 of the calendar source you want to edit.
 - Click Edit Calendar Source.
- You can set synchronization frequency or click sync now to sync data immediately.
- Click the Save button.
- Click of the calendar source you want to edit.
- Click Delete Calendar Source.
- Enter Delete in the text field and click Yes.
3.4.3 Edit Resource
All meeting rooms set in Google Workspace Calendar and created by the built-in calendar will be listed in the table. Those meeting rooms from Google Workspace cannot be added and deleted or only support limited editing functions on meetingPost+. You can use the built-in calendar.
- Click the + button.
- Enter a name to create a meeting room.
- Enable the checkbox of the meeting room you want to use. Then, you can complete further settings on Meeting → Room page.
Note :
The number of meeting rooms you can select depends on the license you purchase.
You can check all available equipment for those meeting rooms.
Facilities retrieved from Google Workspace can only be edited on Google Workspace Calendar.
You can also follow the steps below to add facilities directly on meetingPost+. Please note these facilities can only apply to built-in meeting rooms.
- Locate the Built-in section and the Facilities table on the Settings page.
- Click + to open the Facility page.
- Enter a new facility name and click the Add Facility button.
- Leave the Facility page after you add a new facility successfully.
- If you want to delete any facility, just click delete icon
 beside it.
You can create an icon set and assign an icon for each facility. Meeting rooms created by meetingPost+ built-in system or Google Workspace apply icon sets separately.
- Click the + button.
- Enter a name for this icon set.
- The equipment list is on the left-hand pane.
- Click an equipment name and select an icon on the right-hand pane.
- You can also click the Upload button at the bottom of the right-hand pane to upload your own custom icon.
- Complete settings for each equipment.
- Click the Save button.